Are you an aspiring archer? You need to put your armory in order by having all the right tools set. The two must-have tools for any archer, whether newbie or experienced are a bow and arrows. It would be a waste of time and effort if you went to the field without them.
Sometimes, the price of quality bow and arrow can be too high beyond your means. However, this should not put you down. You can comfortably make a bow and arrow right at your home using the available local materials. Do you want to know how to make a bow and arrow? Follow these clear steps.
Table of Contents
How to make a bow and arrow: The Bow
1. Find an ideal wood
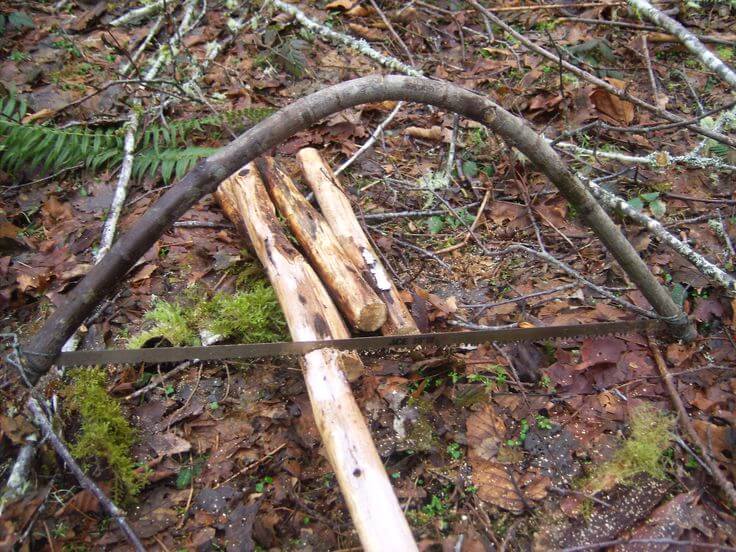
Choose a tree that has robust wood. This is because the bow will be subjected to extreme pressure most of the time and this can make it break. Avoid softwoods such as pine but instead, go for hardwoods such as oak and maple. The wood should also be able to withstand extreme pressure especially when you are just about to release the arrow from it. Your bow should be flexible and should not have knots. It is always advisable to use dry wood and if it is not available, air the fresh wood for at least four weeks.
2. Find out the curve of the bow
The bow determines the performance of an arrow. Its natural curve will also determine how you will add other features such as the bowstring and the notches. To find its curve, place the wood on the ground and use one hand to hold it at the top while the other hand is in the middle of the wood. Slightly press it. The shape that the wood will take will be its curve, and it will help you to determine its maximum flexibility.
3. Label handhold and the limbs
Find out the limbs and the handhold of the bow. Proper labeling will help you to determine the perfect shape of the arrow. The handhold should be right in the middle of the upper limb and lower limb.
4. Shape up the bow
Put the bottom of the bow on your feet and your hand on top of the other end. Use your other hand to press the bow outwards. While doing this, the bow’s belly should be facing you and its back away. Continue pushing outwards until you find out the areas that are flexible. Use a sharp tool such as a knife to shave off those parts that are not flexible. Continue doing this until the whole bow achieves uniform flexibility. The handhold should be thicker and stronger than the other regions. The bow should also carve only from the belly so as to prevent any future breakages.
5. Make notches on the bow to support the bowstring
Using a sharp knife, start by cutting the side of the bow while heading toward the handhold. There should be one notch at each end of the bow, and they should have a maximum of 5cm. While cutting, don’t go too much deep into the bow. Doing this can compromise the stability of the bow as the edges will become weak. The notch should be just deep enough to provide adequate support to the string.
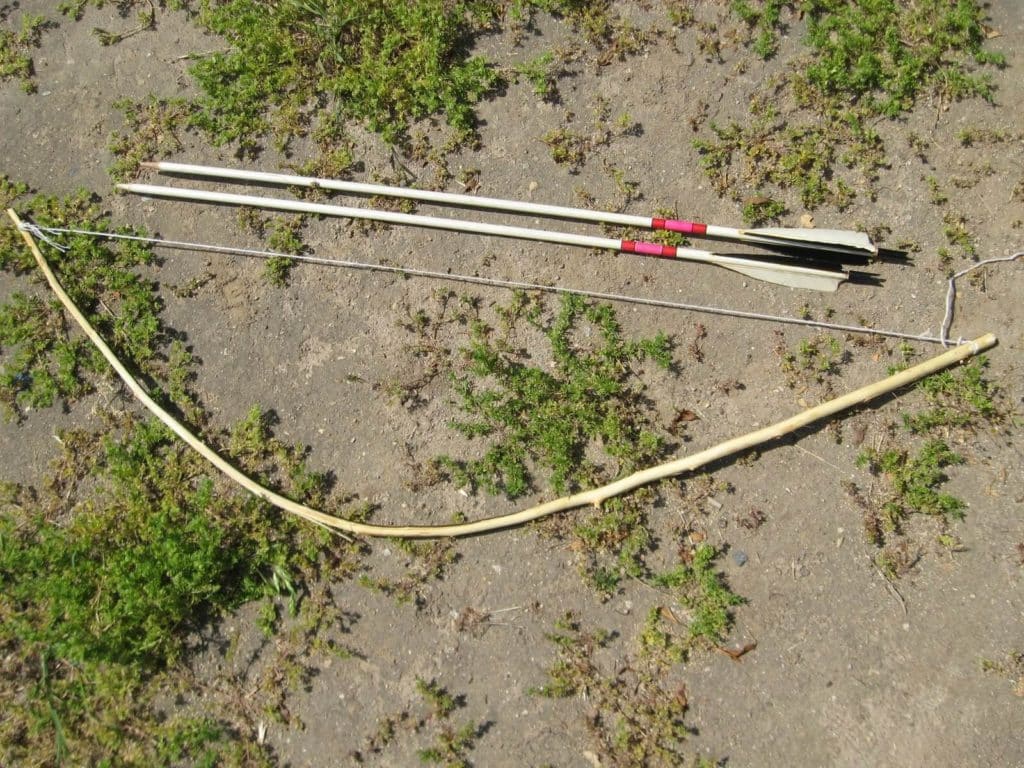
How to make a bow and arrow: selecting a string
A bowstring can be made of a wide variety of material including rawhide, fishing line, twine, thin nylon rope and even cotton strands. Tie the bow string securely on both ends of the bow and ensure that it is much shorter than the length of the unflexed bow. This will give it the much-needed strength that it deserves. The notches that you prepared should be able to hold the string into the correct position.
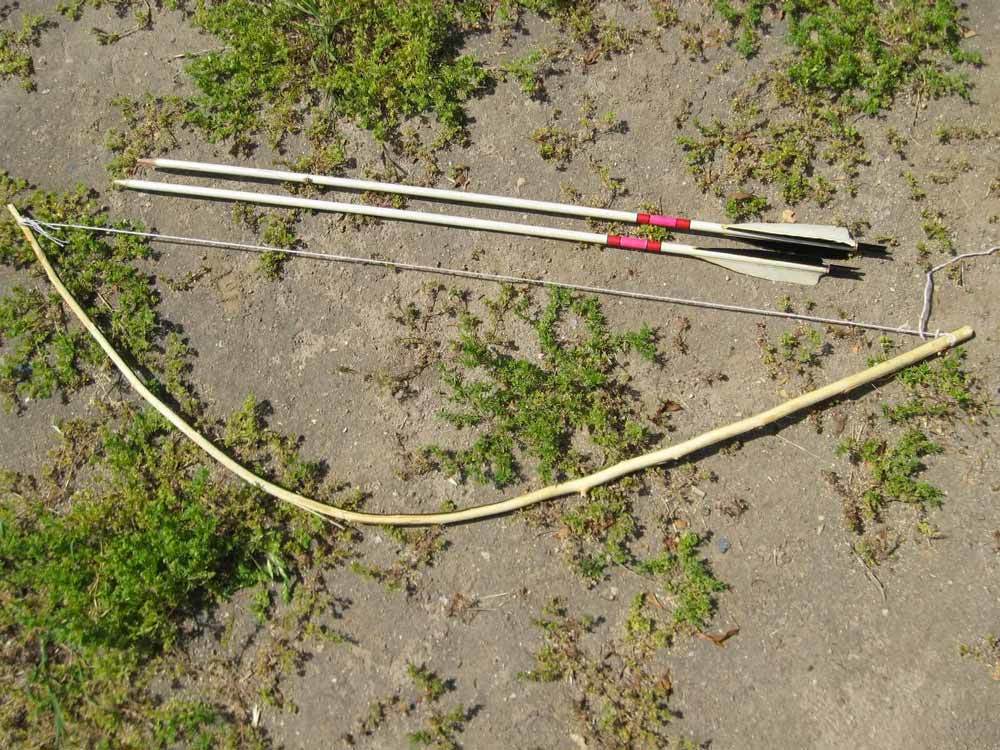
How to make a bow and arrow: the arrow
1. Select the right arrow sticks
The right arrow sticks are straight and dry. The slightest curve on an arrow stick will end up frustrating you in the field. The sticks should be completely dry, and their length should be half that of the bow.
2. Smoothen and straighten it
Arrow sticks can be smoothened by peeling their barks off using a knife. You can straighten the sticks by passing them gently over hot coals. While doing so, be careful not to burn them.
3. Make another notch at the back tip of each arrow.
The notch will be supported on the bow string.
4. Sharpen the arrowhead by heating it gently on hot coal
You can then attach the arrowheads onto the tip of the arrow. You may be forced to do some notching on the wood so that the arrow head is fixed properly.
5. Add Feathers
Feathers are used to streamline the flight of an arrow. Attach the feathers at the end of the arrow using glue. In case you don’t have feathers, you can use plastic that is cut into triangular shape.
Want a manufactured bow?
As you can see, making a bow and arrow is not an overly complex task. It can be probably easily done in a day or two. What’s more, all the resources may be locally available, so you may end spending nothing at all to get them ready. However, if you’re serious about getting into archery, you will soon find that obtaining the best possible equipment is a must. High quality bows are available these days at a reasonable price for both beginners and pro archers. Here at BowGrid you will find detailed, up-to-date reviews of the best compound bows for the money on today’s market. Most of these bows come already with all the accessories you need to get started into archery and/or bow hunting right away.
More useful archery Blog articles
Enjoying archery? Take a look at some of the most popular archery blog articles below. Oh, and don’t forget to subscribe to our newsletter to never miss on the next guides and the best deals!
Did you enjoy this Archery Blog article?
We hope you enjoyed reading this archery blog article and that you found it useful. If you have any suggestions or comments, do not hesitate to get in touch.
If you liked this archery blog article, why not share it on your social media to let your friends and fellow archers know!
Love fresh fish !